Saturday, August 31, 2013

Wall Hanging Project

Hello Angie here to share with you a fun little project I created using the August Main Kit.  To create this project I used the papers and sticker sheet.  I cut the cute little designs out on my Cameo and also the words.  I had the frames from a long time ago.

Here is the full image:

050

Here is how it looks in my baby's room.

052

Here are some close ups:
  005   003   002

Friday, August 30, 2013

Pocket Life Friday With Sam

Hello all! It's Sam here to share a Pocket Life layout with you. I created this one day spread to record  our daily travels on 1 August 2013. It was just an ordinary day that we had been running around - attending a book binding crop, went for a stroll at the park and also shopped at Ikea. We took so many photos that I managed to create a double page PL spread for this particular day.

PL Week 31 - 1 Aug-1


PL Week 31 - 1 Aug-2


PL Week 31 - 1 Aug-3


The color scheme of this daily spread is inspired by this piece of patterned paper, love the combination of orange and green with a hint of blue. Such a brilliant color scheme that I have never thought of it! I love the month of August simply because its my birthday month so the 1st day of August definitely deserved a page on its own.

PL Week 31 - 1 Aug-7


I am in love with the exclusive heart wood veneer. I painted them with different colors and sprinkled them all over my page. I even use my sewing machine to stitch them down. I know sewing on wood sounds intimidating but all you have to do is add adhesive to the wood and go really really slow.

PL Week 31 - 1 Aug-4


I use numbers to note down the sequence of our daily travels. P.s. The sequins and yellow flower cabochon is from my own stash.

PL Week 31 - 1 Aug-6


I am always inspired by how April summarize her weekly events in one of her 4x6 journaling card. So I thought it would be fun to challenge you to summarize your daily travel in one of the journalling card, using bullet point form. You will then realize even the smallest thing in your everyday life is noteworthy. Here's how I did my summary of the daily travel with my funny hand writing and stamp set designed by Jen.
Tips: I white washed the pattern paper with Distress Paint in Picket Fence so that my journalling will pop.

PL Week 31 - 1 Aug-5


And here's the sketch for this week Pocket Life post:

CTK PL Sketch


Thanks for looking and have a great weekend ahead!

Thursday, August 29, 2013

Be Inspired By An Embellishment...Even If You Don't Use It!

Hello, and happy Thursday, everyone! Melissa here with this week's Be Inspired post, all about taking ideas from the embellishments in a kit even if you don't happen to use them on the page they inspired.

For my layout below I was already doing something out of my norm by using a really big photo, which left me with very little space to embellish. With such a tight area to work in, I wanted to make sure that I decided on a cohesive color palette from the start. Want to guess where I found the inspiration for this orange, yellow, and blue dominated page? Read below for more!

DSC_0031.jpg

See the orange, blue, and yellow sequins in this month's main kit, On the Go? My photo already had lots of blue, and when I spotted the sequins laying out on my scrapping desk it hit me that yellow and orange would be the perfect contrast colors to use on my page! I quickly sifted through the kit contents and pulled out orange, yellow, and blue items to cluster at the top and bottom, adding in just a tiny bit of green to go with the tree in the "Journey" cutout from one of the kit's patterned paper sheets. And, while the sequins didn't get used on this layout, they certainly found homes on some of my other pages this month.

Aug Main kit type

DSC_3326.jpg

The light blue alphabet stickers in the main kit blended a bit too well with my photo, so I took a darker blue alcohol marker to give them a deeper shade- such a quick and easy customization!

DSC_3327.jpg

DSC_3328.jpg

Thanks so much for stopping by today- I hope you're all having a fabulous week!

Wednesday, August 28, 2013

6x6 Paper Pad Play with Sam

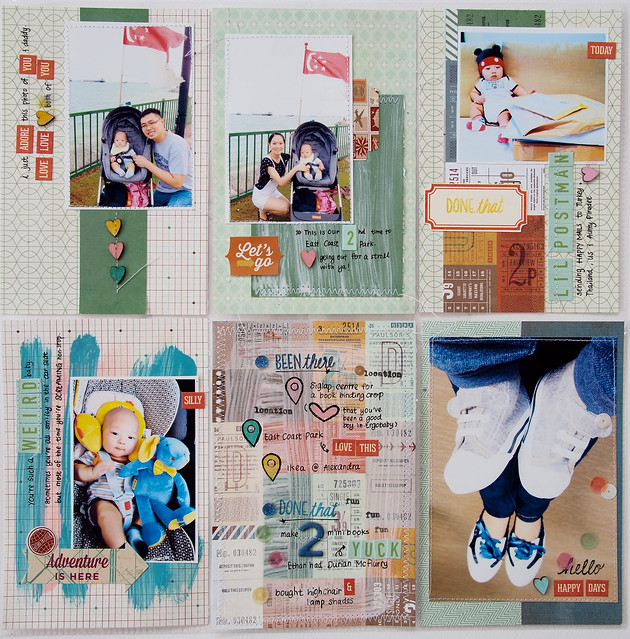
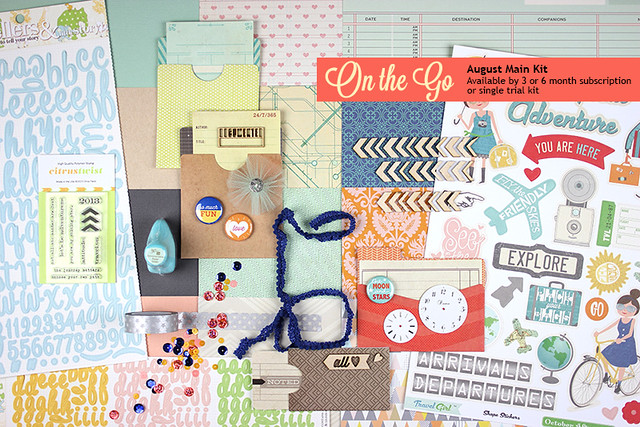
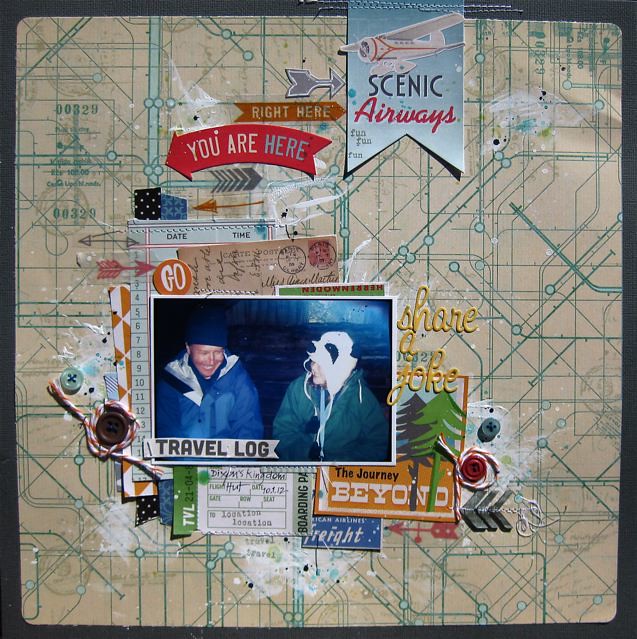
Hello there! It's Sam today to share one of the fun (yet super easy) way to use your 6x6 paper pad that came with your Pocket Life kit.

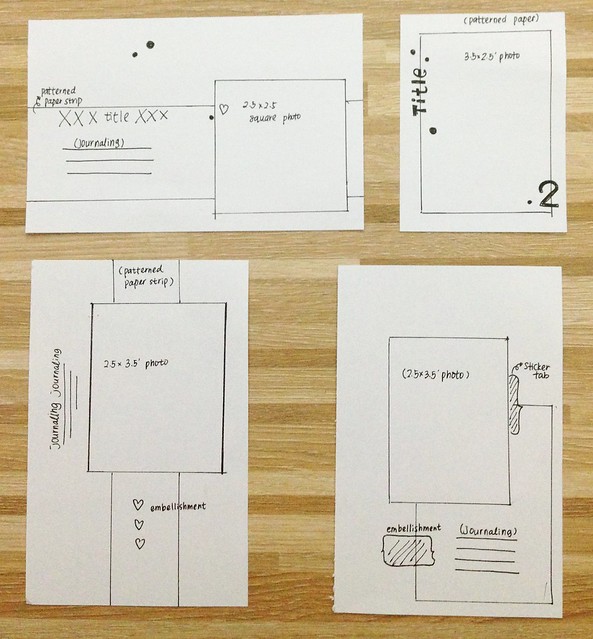
Guess what? All you have to do is:
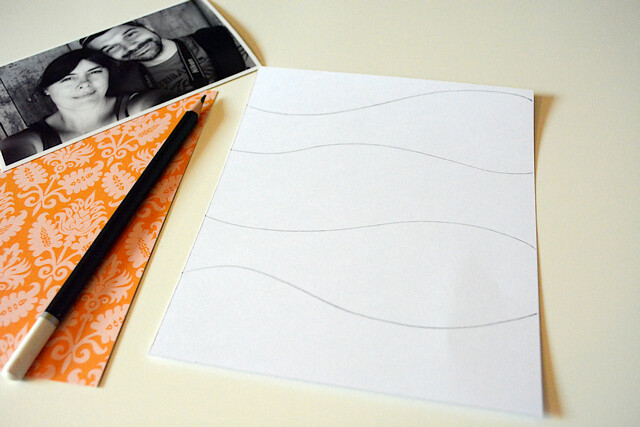
1. Tear a few pieces of 6x6 papers from the paper pad (this is easy as all the papers are coordinated)
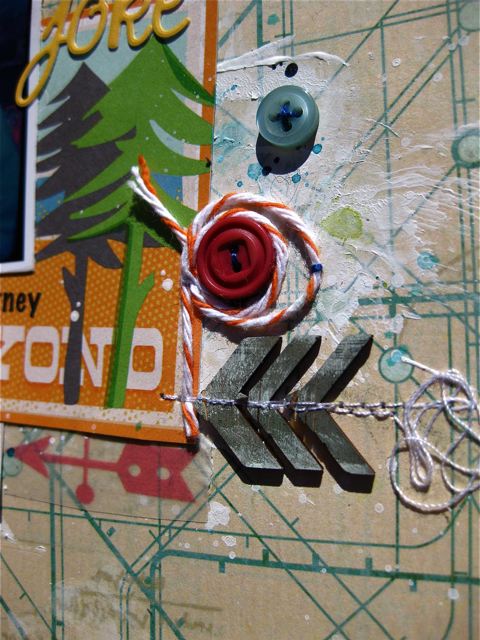
2. Crush, tear and distress them to create texture (don't even need foam dots to pop it up)
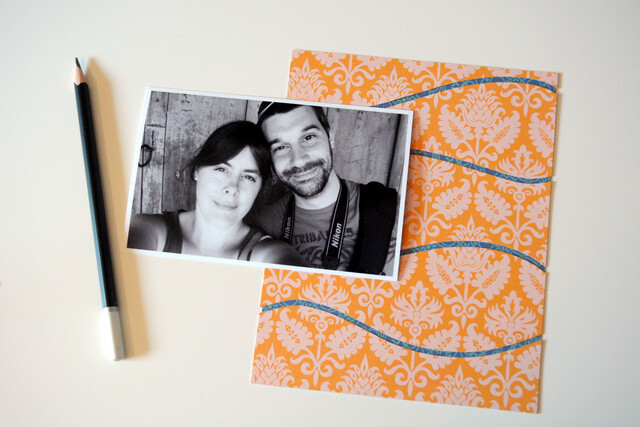
3. Layer them on a piece of cardstock
4. Once you are happy with the arrangement of the papers, apply adhesive but you don't need much to glue the papers because you want them to look like they just lay on the card stock randomly.
5. Add photos, embellishments and stamping.
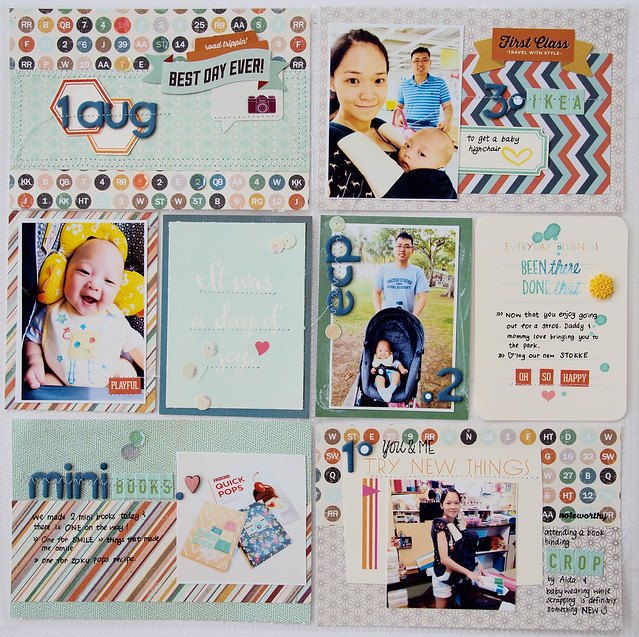
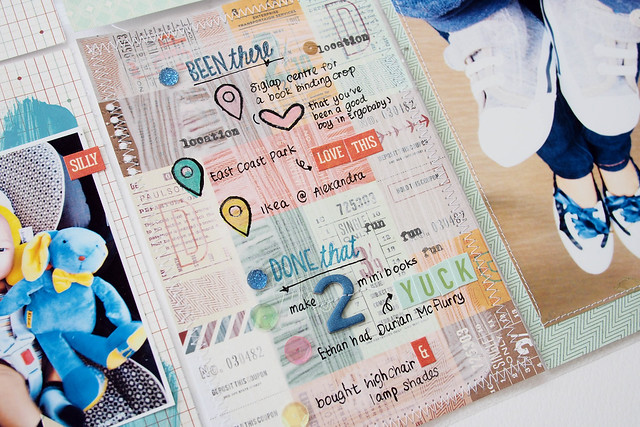
6. Ta-dah! A layout that has a lot of textures and patterns, plus a tiny bit of mixed media.

Rockstar-1

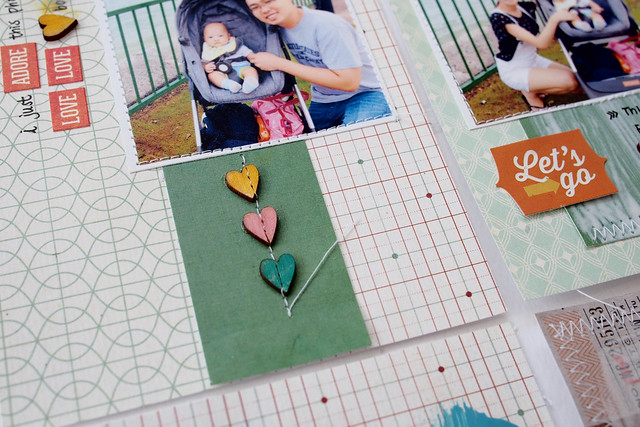
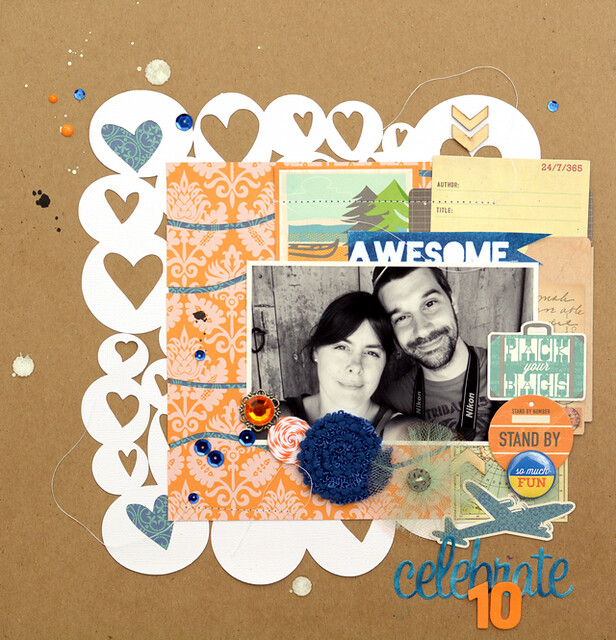
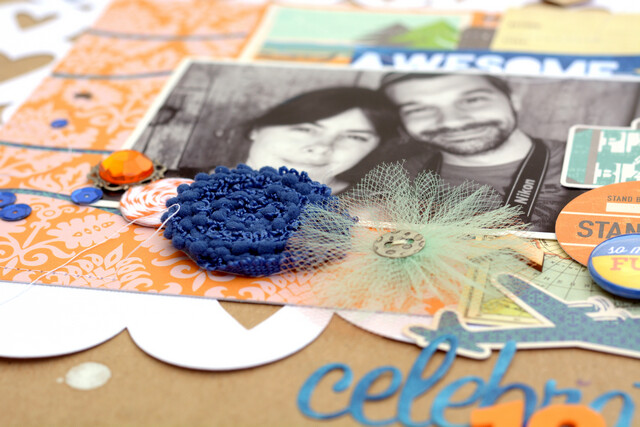
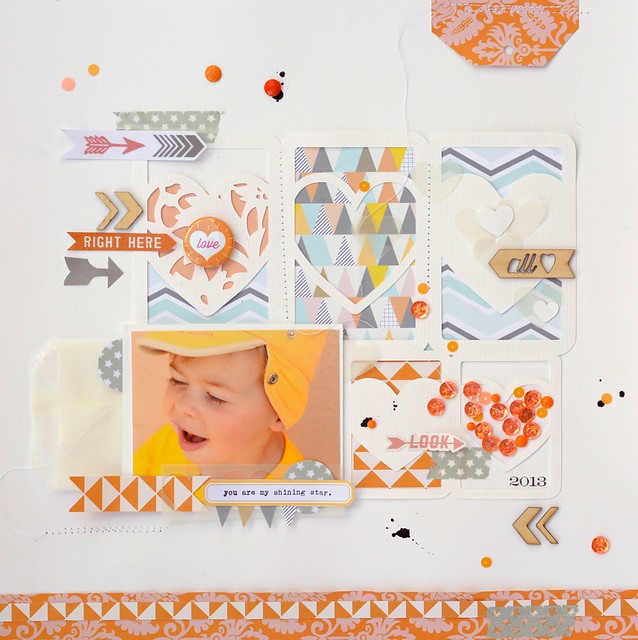
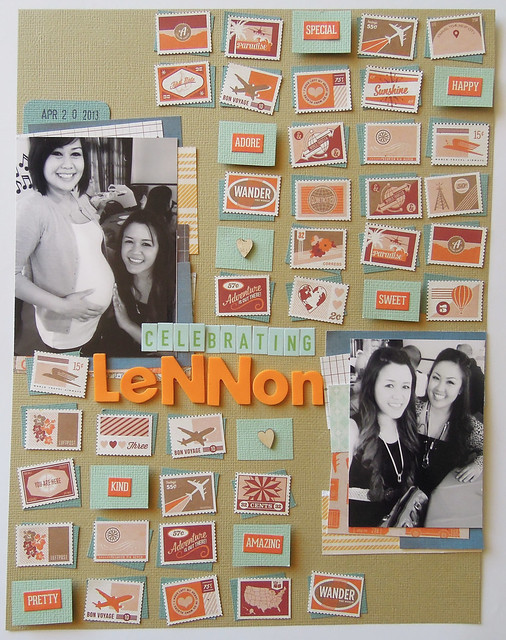
Love love these exclusive wood veneers in August kits. I painted it with Prima Chalk inks to match the color of my baby's bumbo seat. Painting the wood veneers in coordinating colors is one of my favorite ways of using wood veneers.
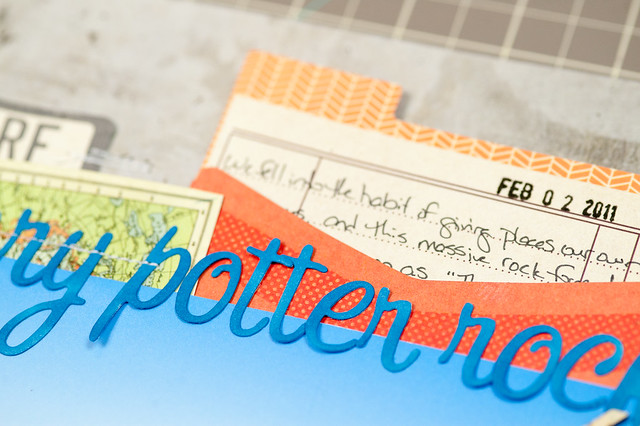
p.s. Everything in the layout from the August kit, except the stamp on the photo.

Rockstar-2

Tips: Add some twine (that come with the packaging of the monthly kit) and some white thread under the photo or cluster of embellishment would add more textures to the layout. I also white-washed the 'ampersand' sticker with Distress Paint in picket fence (white) to tone down the black color.

Rockstar-3

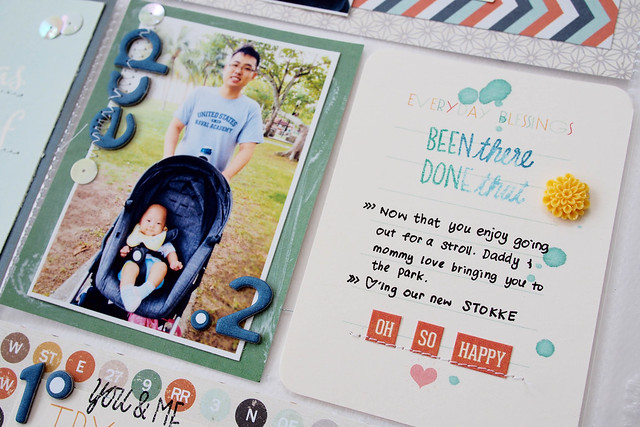
White washing the basic grey alphabet stickers too. And addes a splash of blue & teal color to the background with distress stains.  Oh by the way, the title is inspired by my baby's starry pants and the photo was taken before we had a scrapbooking crop at home. Love how the star stickers in the kit matched with his pants so well.

Rockstar-4

I hope you have fun making a quick layout using the tips above. I did mine under an hour ;) Thanks for looking and have a great day ahead!

Tuesday, August 27, 2013

Tuesday Tutorial with Amélie

Hi, here is Amélie and today, I will share with you a new tutorial. I will show you how to make "wave papers".
It's very simple and gives a very cool look to your layout. To begin cut two part of paper. One part on white cardstock is for templates.

tuto1

For information my papers are 14X16.5 centimeters.

You can easily do it on your definitive paper if you want, but here, I prefer to take some precautions and then after I could keep blanks for other creations.
Then draw with your pencil some waves lines like this:

tuto2

Cut the white paper on lines and place the "waves" on the other paper. Draw the lines and cut.

tuto3

After it you just have to stick them on your background paper.
tuto4

Now here is my layout with some details:
tuto5

tuto6

For this layout, I used Main and Embellie kits.
On this day, we had celebrated our 10 years wedding at the other side of the world!

tuto7


tuto8


tuto9

Only the orange vintage brad comes from my stash. The "Awesome" banner is made with the stencil of the July kit.
Have a good day! Amélie

Monday, August 26, 2013

Simple Strategies

Hi, Gina here today, sharing a few ideas I've played with when creating this layout. I've used the main "On the Go" kit, "Orange Crush" Embellie kit and the August stamp add-on, along with a few buttons from my stash.

To start with I've added contrast by cutting an even amount off each side of the 12x12 background paper and placing a dark cardstock behind. This also helps to "pick up" the greys in the layout.

IMG_0041

I've also inked up these exclusive arrow wood veneers with a couple of Prima chalk inks to give them a weathered timber look to match my photo. I've covered the veneers completely with  "Old Road" from an earlier kit and then dabbed a little "Pastel Green" ink from this month's kit. I love how these veneers are soft and thin enough to machine stitch through.

IMG_0037

Another tip is to adapt a sticker, like the one on the right hand side, so that you can turn the ends up slightly to add dimension. To do this I backed the sticker with some plain copy paper first, then attached with some double sided tape, gently curly the points upwards to sit slightly off the page.

IMG_0039

Thanks so much for visiting and happy scrapping!
Gina x

Sunday, August 25, 2013

Sunday Sketch with Amélie

Hi, here is Amélie and today we have a new sketch to share with you. This sketch offering lots of possibilities!
Here is the sketch:

Nathalie


And now my interpretation of this sketch:
CTKSKETCH1

With some details: CTKSKETCH4


CTKSKETCH3

 As you can see I adapted it a little bit. For this layout, I principally used the main kit. Only the arrows washi tape comes from the Embellie kit. The enamels dots come from a previous kit.
I hope you will like it. See you soon. Amélie

Saturday, August 24, 2013

Card Day

Here is another card day!  We are sharing cards we made with the August Citrus Twist Kits.

Gina here sharing a card using the "On the Go" main kit. I've layered some papers, a library pockets and stickers. The wood veneer has been colored with the pastel green ink also found in the kit.

IMG_0035

Sandy made a card made using pattern papers from the Project Life Kit 6x6 pad and embellished it with a couple of pretty Twinkle Blooms from the Add-On Kit.


b1

Nina here, to create this card I cut out different little images from the October Afternoon Travel Girl "Room Key" paper, add them with Citrus Twist exclusive Wood Veneers and Travel Girl Sticker onto the Heidi Swapp patterned paper.

IMG_0090

 Amélie here sharing a card created with triangle paper of the main kit and some stripes of washi tape. This card was made for a birthday and says that time flies.


CTK CARD

Friday, August 23, 2013

Pocket Life Friday with Jen

Happy Friday! I'm sharing week 25 of my Pocket Life album here today, using the beautiful August PL and Embellishment kits:

Jen_AugPLSpread2

For this week, I chose to use the light blues, aqua, yellows and oranges in the kits to pull together my Greek vacation photos - the cool of the ocean and the warmth of time with family and our excursions. This was our last week of vacation and bittersweet as we said goodbye to loved ones and our favorite place for a year or more. There are so many incredible detailed bits in this month's PL kit - the exclusive cards, grey and white washi, Star & Bee wood veneer hearts and the Queen & Co. Goosebumps were among my favorites.

Jen_AugPLDetail6

I enjoy combining my kits with a few digital elements and Silhouette cuts which you can see best on this first page. The date card was created digitally from a number of elements on my hard drive then highlighted by alphabet and accent stickers included in the PL kit. The teal double heart, hello arrow and quote card cuts were made with my Silhouette.

Jen_AugPLPage3
The "This is where I want to be" card about sums up this spread. Already missing our time in Greece and so happy to have had such wonderful memories to document.

Jen_AugPLPage4
Here are your sketches this week:

JB_AugSketches

Thursday, August 22, 2013

Be Inspired With Sandy


Hi it's Sandy with my "Daily Travels" page about a day out at Gardens by the Bay, a park created on 100 hectares of land reclaimed at the southern tip of Singapore. I pick four scenic pictures, to show off various picturesque aspects of the park. The inspiration for arranging them within a grid format and pairing them with Basic Grey's Carte Postale products come from April's Lennon layout.

a4
 
I mimic April's use of a  cut-apart sheet with a map print paper from the Main Kit. Since three of my photos capture curving pathways, I take advantage of the river flowing through a city pattern to tie them together.  The grid format allows me to cut this paper apart and position the flow of the river to draw the eye from the title down through my pictures. 


a4

With the center of attention being firmly focused on the photos and journaling in the middle grid, I leave the rest of the page relatively simple. Just brown check borders embellish with phrase stickers from the Project Life Kit and a subtitle printed on wood grain paper from the Add-On Kit.
 

DSCN3395
April's Lennon Layout
If you created a "Daily Travels" project using travel products from our August kit(s), remember to post it in the Gallery and leave a comment on this post saying you did to be entered into our subscriber challenge.